openITCOCKPIT 3.4.2 released
Today we proudly released the next version of openITCOCKPIT 3.4.2.
Breaking changes to our API interface!
If you are using an ((OTRS)) Community Edition integration, our PagerDuty/Slack Module, End2End scripts or the External Command HTTP-Interface manual action is required!
Read the "API Keys" section of this article, to get more information.
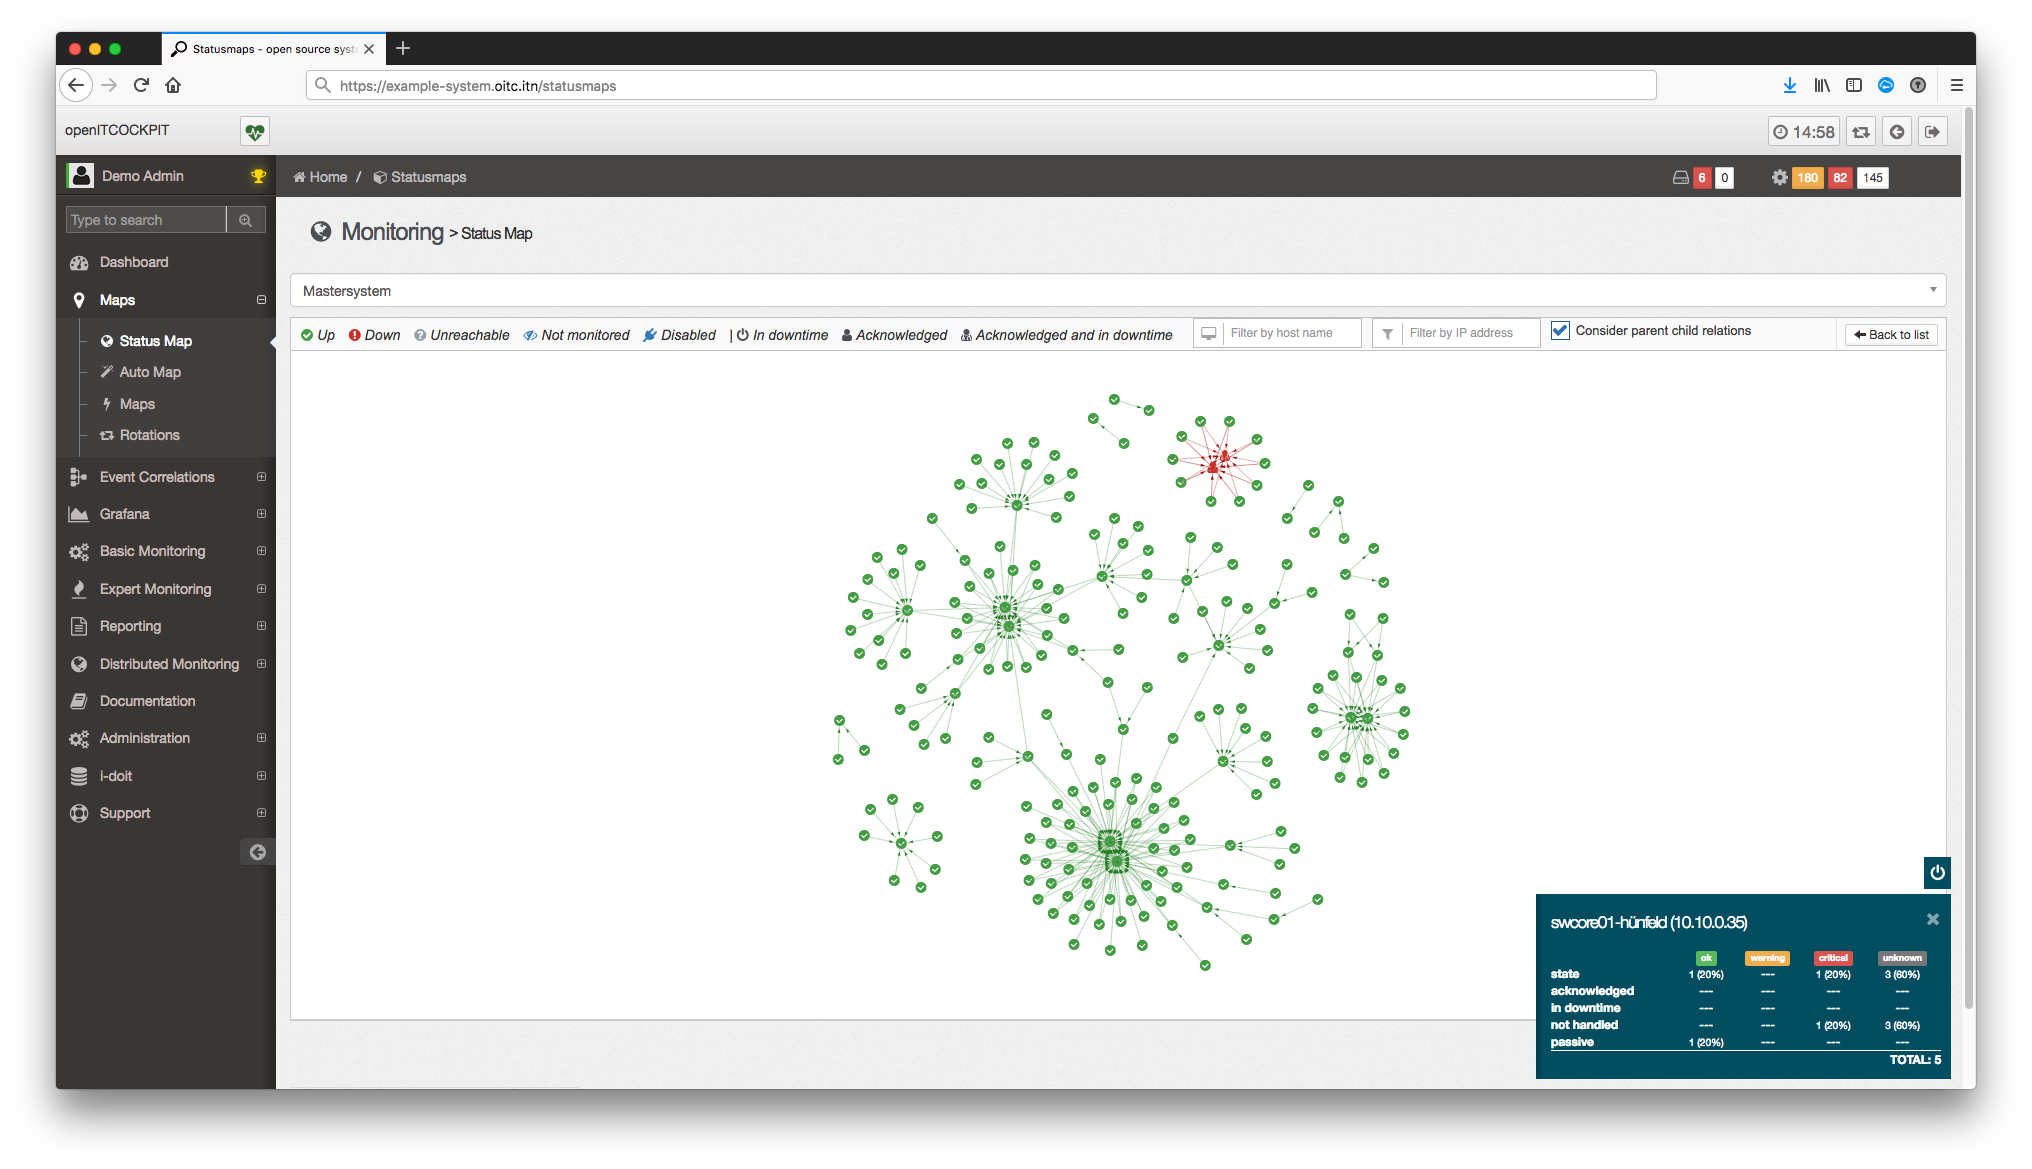
Redesigned Statusmap
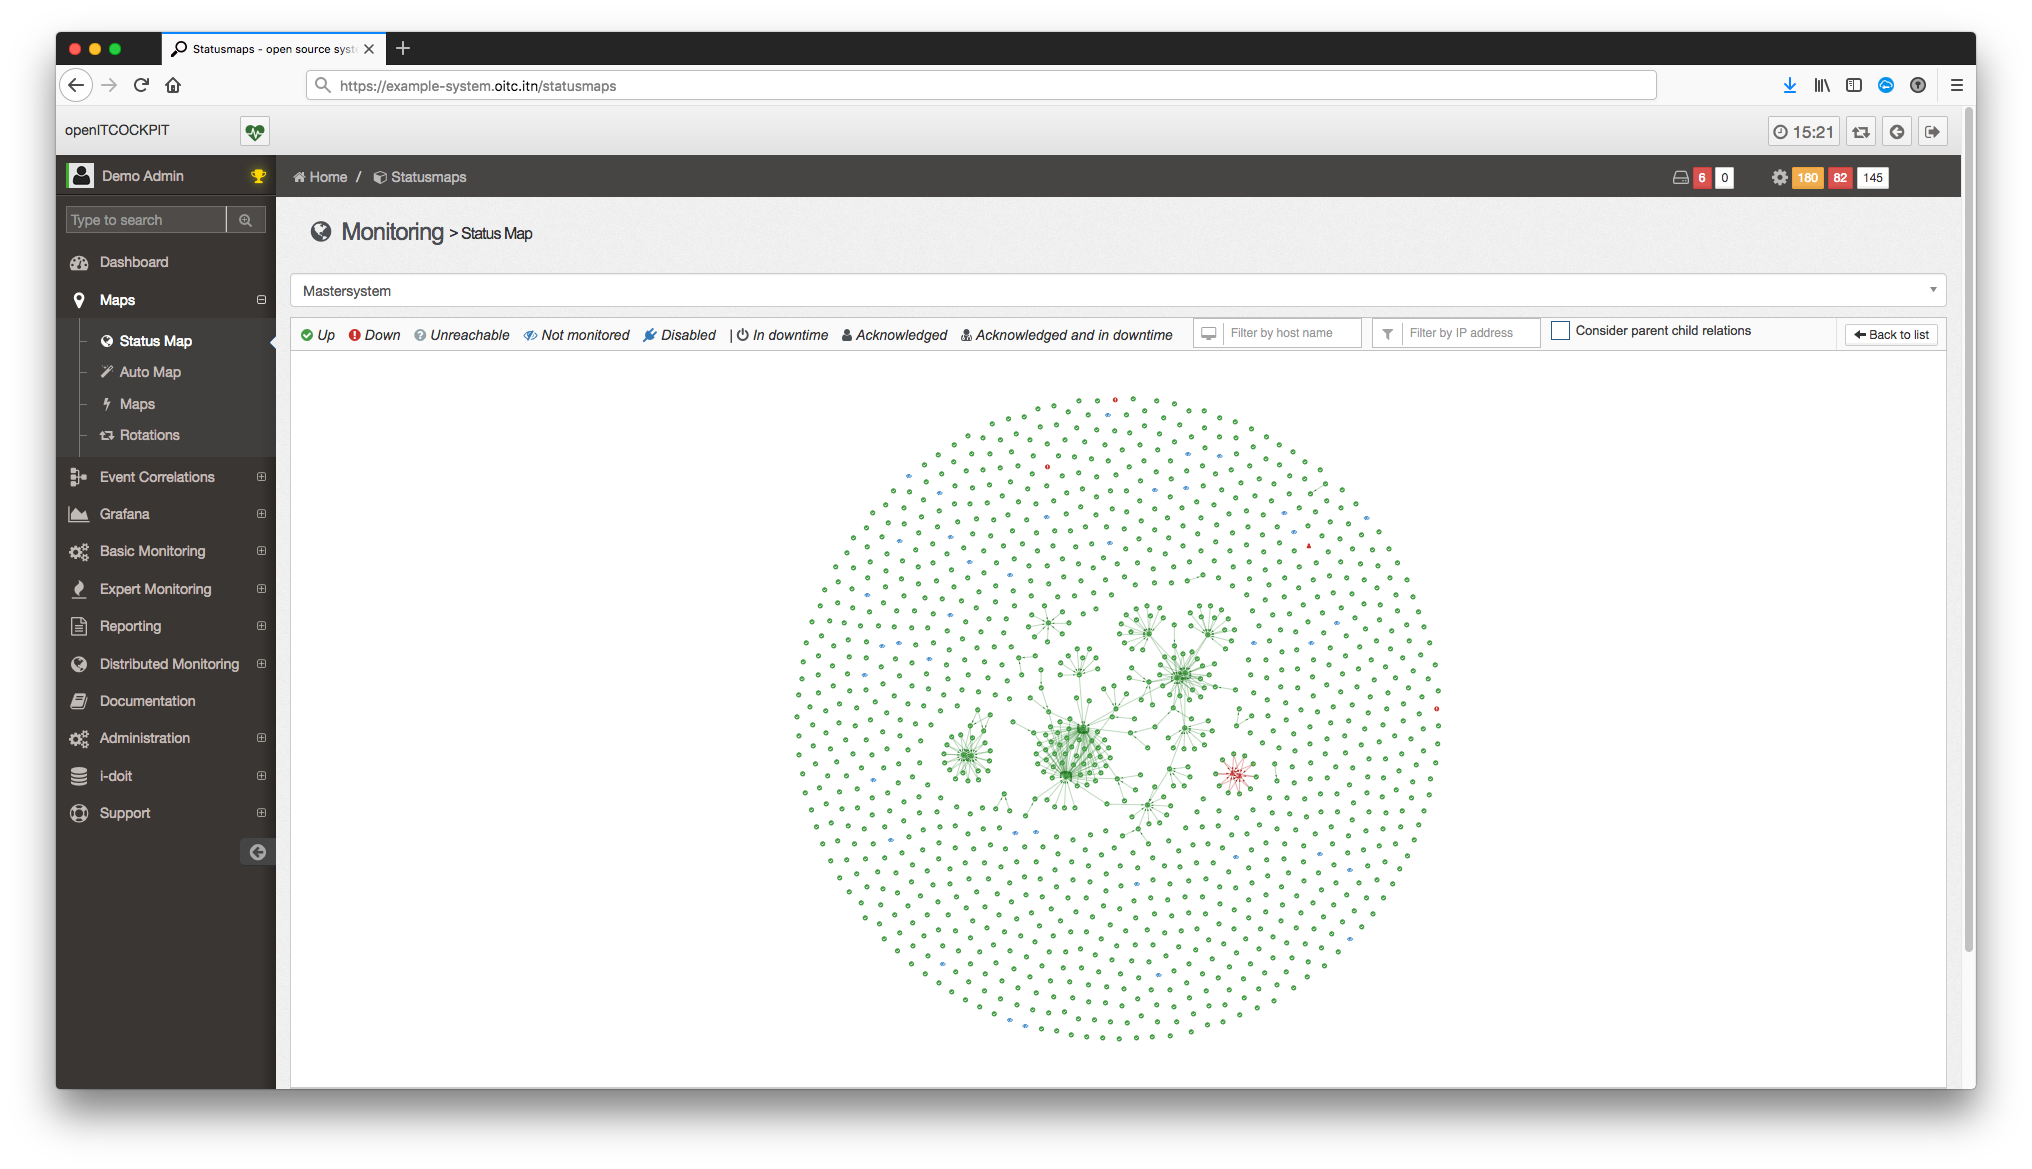
We redesigned our status map, which will now display hosts of a selected openITCOCKPIT instance. We also added filter options for host name and host address.
You can use your scroll wheel to zoom in or out. By clicking on an icon, you get detailed status information about the selected object. The Statusmap will only show hosts that are in a parent child relation. If you untick the box “Consider parent child relations”, the Statusmap will display all hosts.
Depending on your system size, it could take a while to load all objects. We added a progress bar, to let you know the current status of the loading and rendering process.
API Keys
Breaking changes!
If you are using an ((OTRS)) Community Edition integration, our PagerDuty/Slack Module, End2End scripts or the External Command HTTP-Interface manual action is required!
Our interface uses the API more frequently with every single version. What about you? To make it easier to use our API, we implemented API Keys. So your scripts can simply add an HTTP-Header to the HTTP-Request, instead of handle nasty cookies.
Every API key is bound to a single user. So the user permissions are the same.
You can create as much API keys as you need. We recommend to create a single API key for every external application.
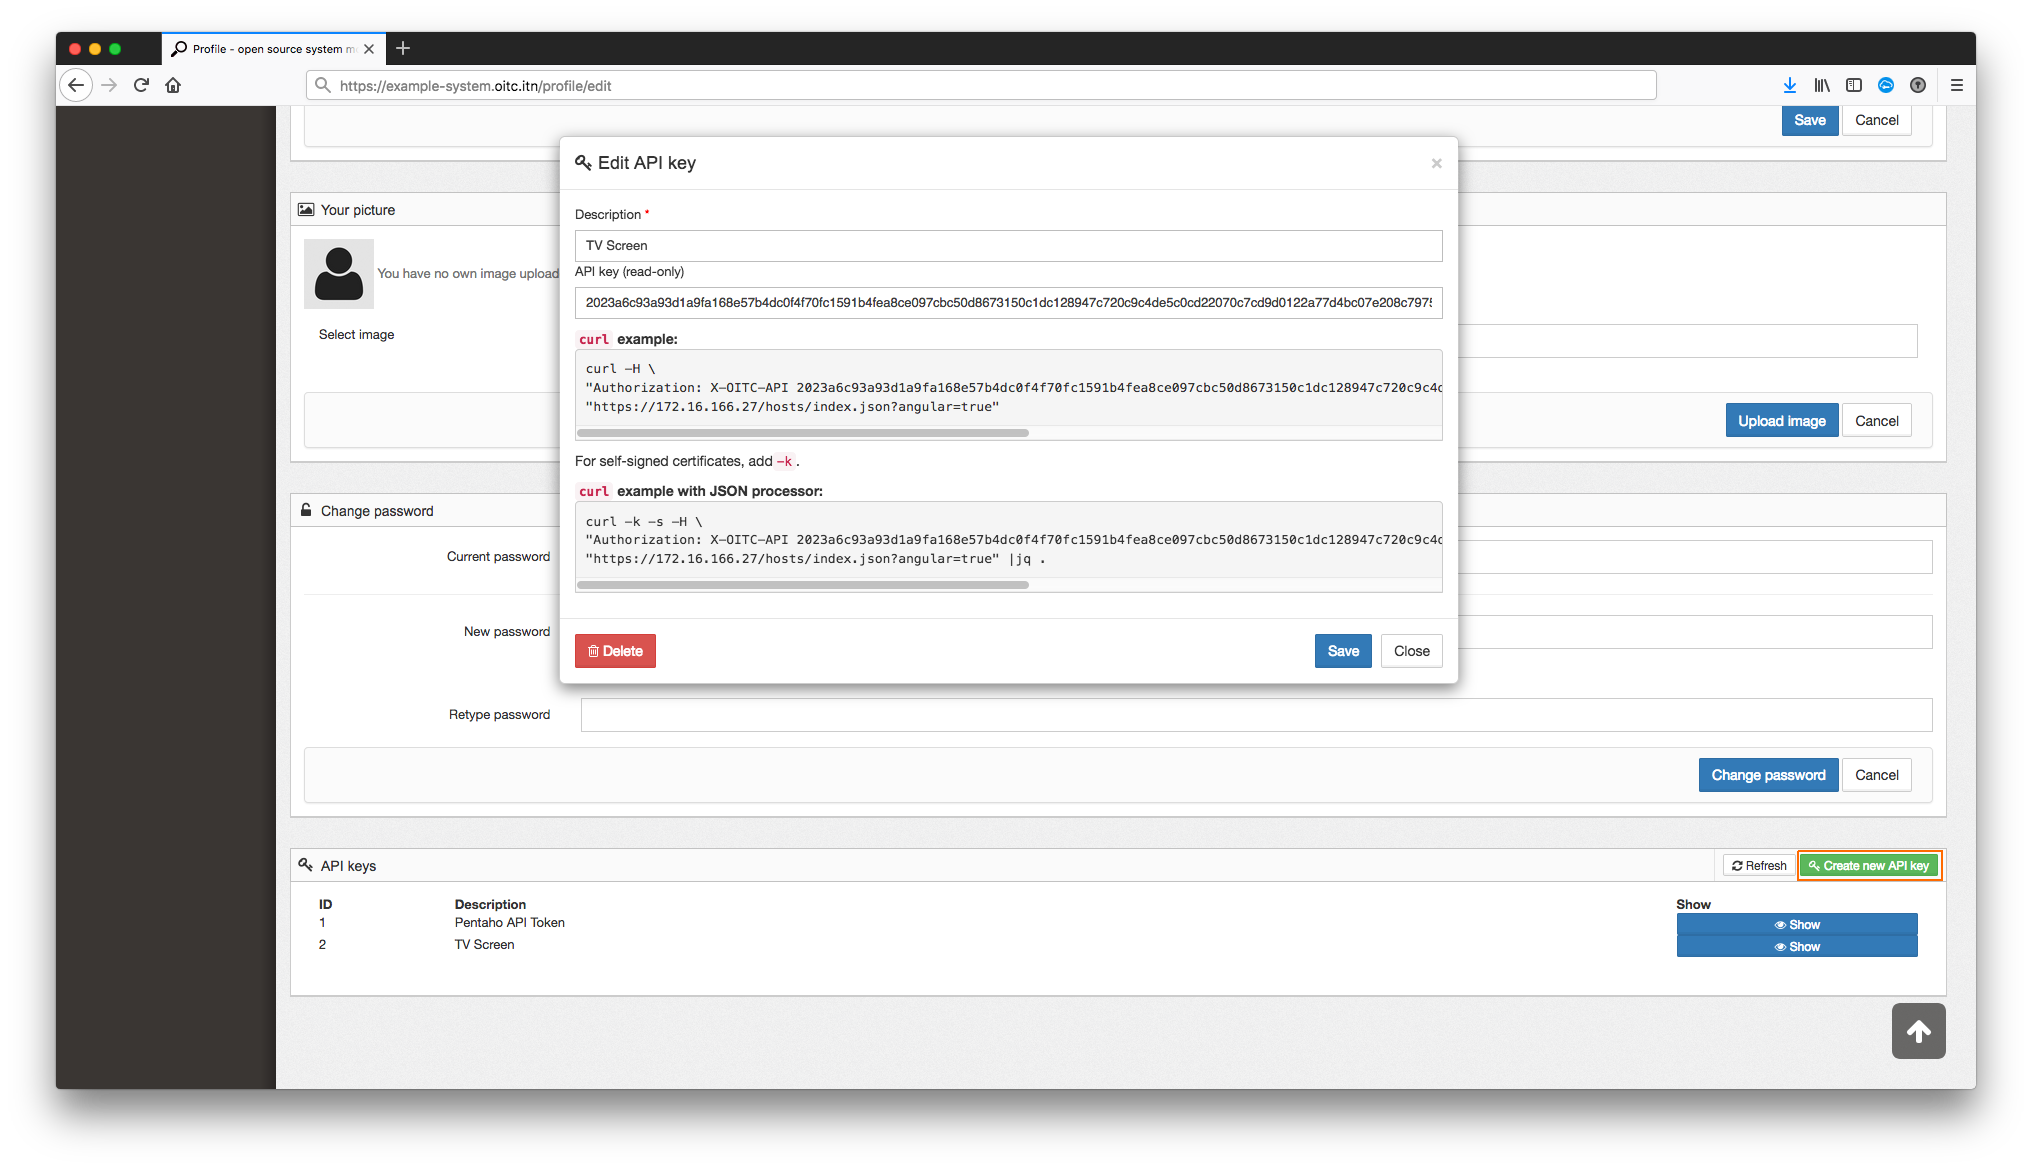
Create new API Key
First of all click on your user name in the top left corner to edit your profile.
At the bottom of the page, you can find the new “API Keys” section. Click on “Create new API key”
You can copy the curl examples, to play around with the API. The examples will only work after you pressed on Save!
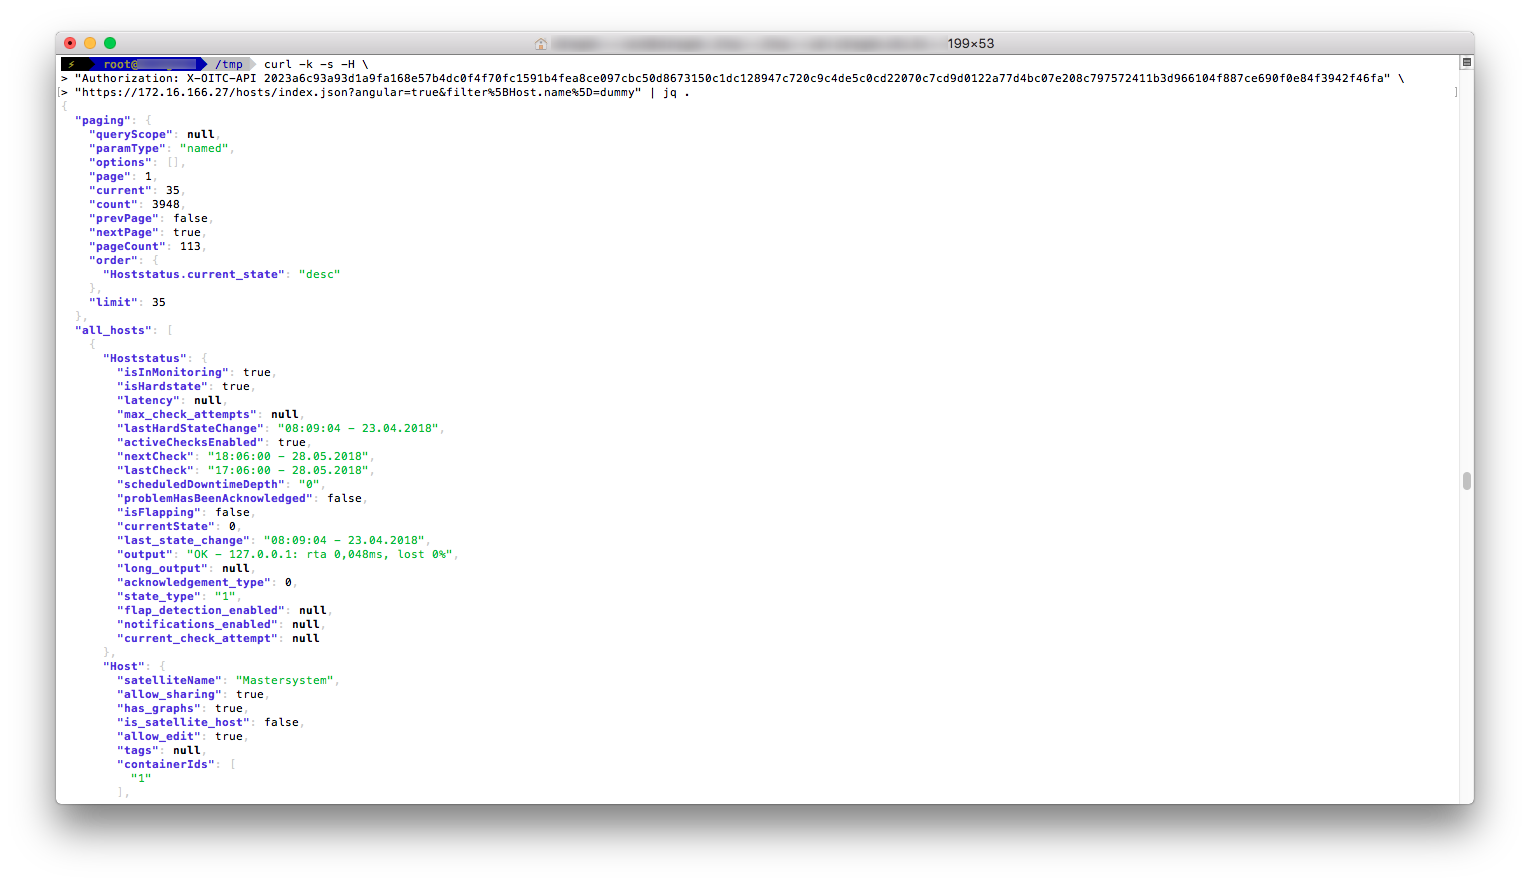
Using API Keys
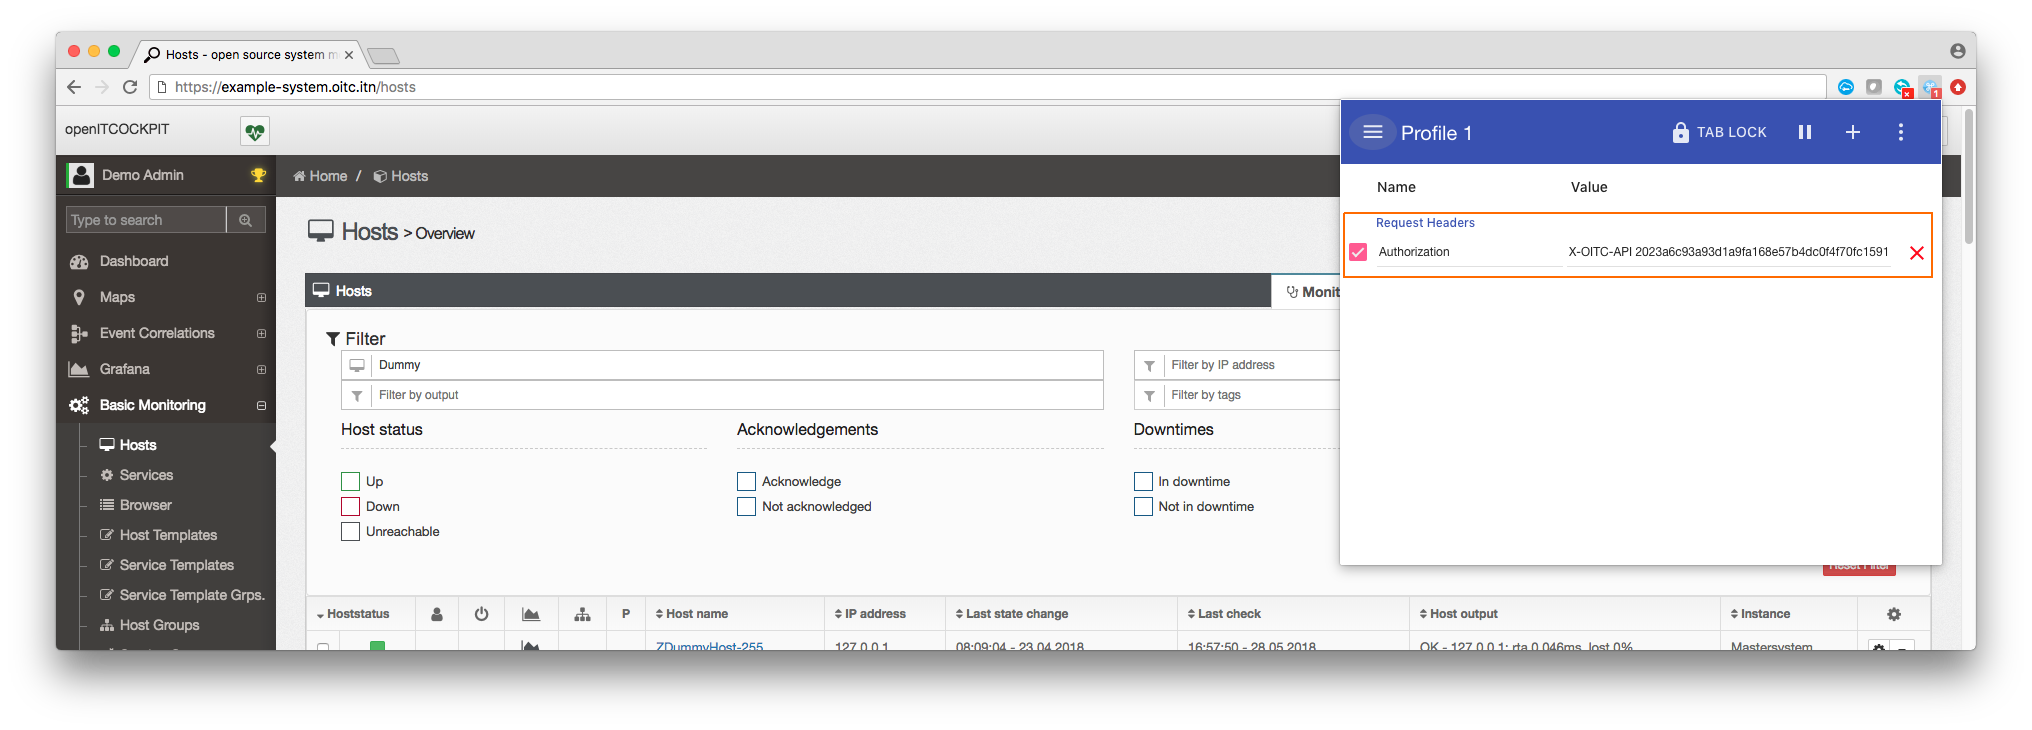
To use an API key, you need to add the header Authorization with the Value X-OITC-API $APIKEY$ to your HTTP-Request. You can look at the auto generated curl examples.
You can also use the API Keys for PCs in kiosk-mode or TV screens. There are Browser Plugins available, which let you send a custom header.
It is also possible to submit the API key as a GET parameter.
https://example-system.oitc.itn/hosts/index.json?angular=true&apikey=2023a6c93a93d1a9fa168e57b4dc0f4f70fc1591b4fea8ce097cbc50d8673150c1dc128947c720c9c4de5c0cd22070c7cd9d0122a77d4bc07e208c797572411b3d966104f887ce690f0e84f3942f46fa
Breaking changes for External Command Interface
Whenever an external script or application needs to send commands to the monitoring engine, like acknowledgements, check results and so on, you need to use our External Command HTTP Interface.
We needed to change the URL structure for the new API keys. So you need to update your external scripts. Otherwise sending external commands will not work anymore.
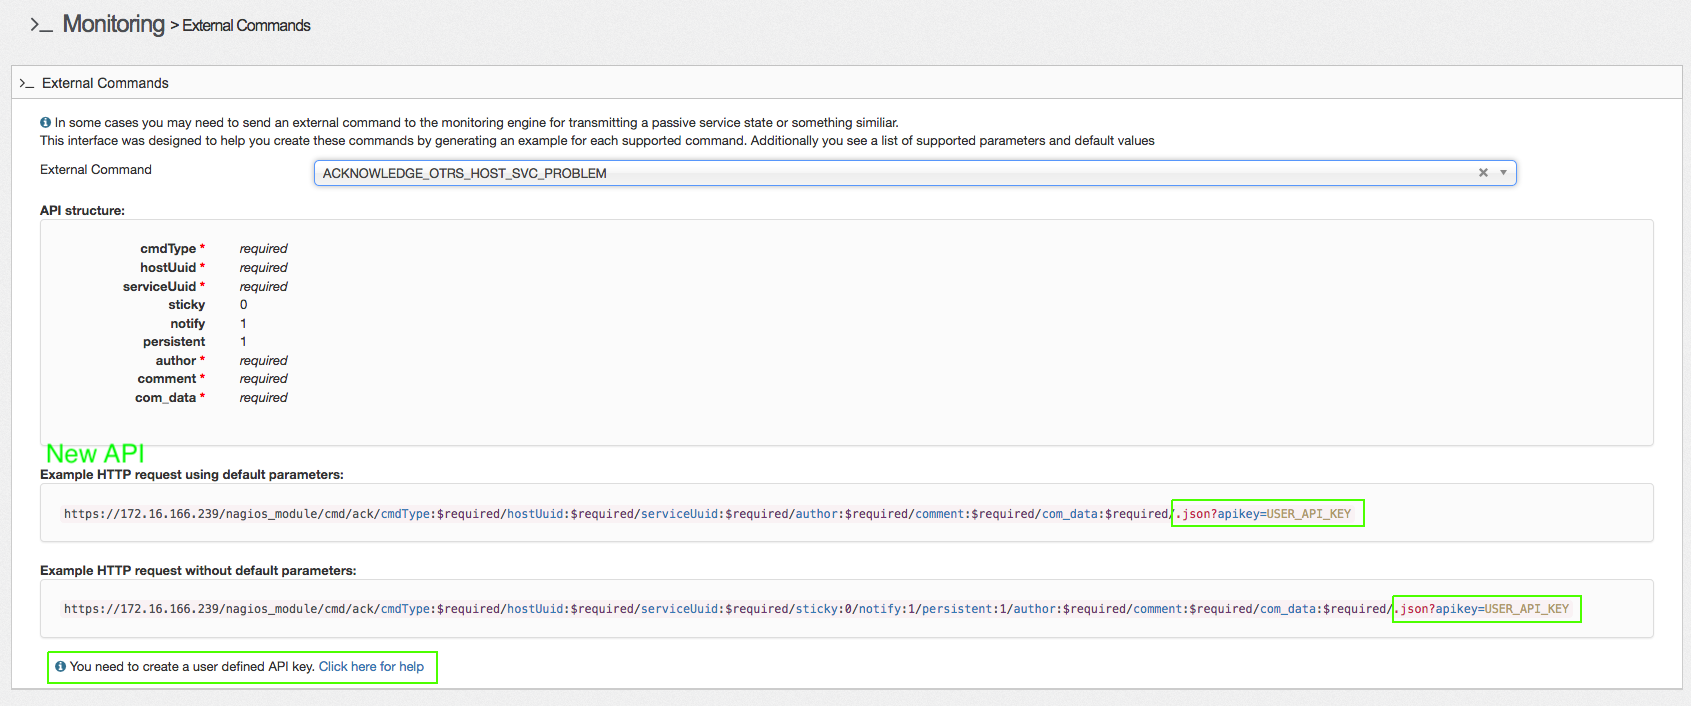
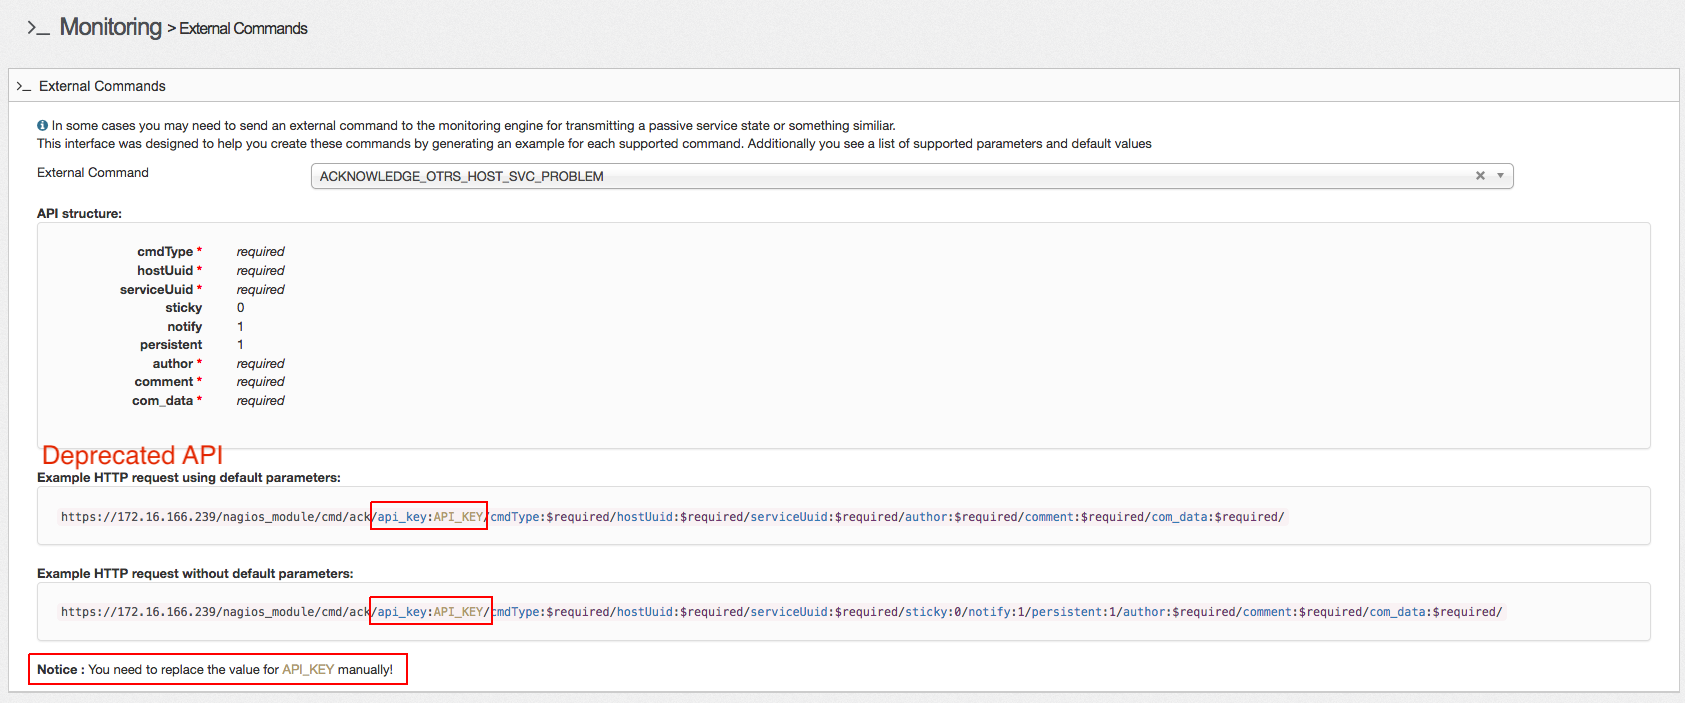
To make your scripts work again remove the old parameter api_key:API_KEY from the URL and add .json?apikey=YOUR_API_KEY to the end of the URL.
New External Command Interface URL:
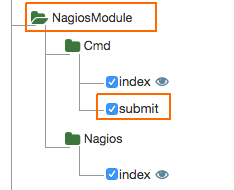
Make sure, that the corresponding user has permission to submit external commands:
Old External Command Interface URL (for comparison):
Breaking changes for ((OTRS)) Community Edition ticket system integration
To use the Two-Way Integration of ((OTRS)) Community Edition, you need to update the Nagios::Acknowledge::HTTP::URL in the ((OTRS)) Community Edition SysConfig.
Remove the old parameter api_key:API_KEY from the URL and add .json?apikey=YOUR_API_KEY to the end of the URL.
New Nagios Acknowledge URL:
Make sure, that the corresponding user has permission to submit external commands:
Old Nagios Acknowledge URL (for comparison):
Example:
Breaking changes for PagerDuty integration
To use the Two-Way Integration of PagerDuty, you need to update the Webhook URL.
The openITCOCKPIT interface will generate the new URL for you. Add your API Key to the URL and set the new URL as “Generic Webhook” in your PagerDuty settings.
New Webhook URL:
Example:
https://monitoring.example.org/pagerduty_module/acknowledge/submit.json?apikey=2023a6c93a93d1a9fa168e57b4dc0f4f70fc1591b4fea8ce097cbc50d8673150c1dc128947c720c9c4de5c0cd22070c7cd9d0122a77d4bc07e208c797572411b3d966104f887ce690f0e84f3942f46fa
Old Webhook URL (for comparison):
Breaking changes for Slack integration
To use the Two-Way Integration of Slack, you need to update the Webhook URL.
The openITCOCKPIT interface will generate the new URL for you. Add your API Key to the URL and set the new URL as Webhook in your Slack application settings.
New Webhook URL:
Example:
https://monitoring.example.org/slack_module/acknowledge/submit.json?apikey=2023a6c93a93d1a9fa168e57b4dc0f4f70fc1591b4fea8ce097cbc50d8673150c1dc128947c720c9c4de5c0cd22070c7cd9d0122a77d4bc07e208c797572411b3d966104f887ce690f0e84f3942f46fa
Notice: You can’t use self-signed certificate anymore, as descripted in the Slack FAQ.
Old Webhook URL (for comparison):
Breaking changes for End2End scripts (AutoIt example)
End2End scripts should use our External Command Interface to submit host and service check results.
Search in your code the function, that submit the check result and add .json?apikey=YOUR_API_KEY to the end of the URL.
You can also remove the old parameter api_key:API_KEY from the URL.
Example with GET parameter:
$oHTTP = ObjCreate("winhttp.winhttprequest.5.1")
$oHTTP.Option(4) = 13056
$test = $oHTTP.Open("HEAD","https://monitoring.example.org/nagios_module/cmd/submit/command:PROCESS_SERVICE_CHECK_RESULT/hostUuid:" & $HostUUID & "/serviceUuid:" & $ServiceUUID & "/status_code:" & $status & "/plugin_output:" & $output & "/.json?apikey=2023a6c93a93d1a9fa168e57b4dc0f4f70fc1591b4fea8ce097cbc50d8673150c1dc128947c720c9c4de5c0cd22070c7cd9d0122a77d4bc07e208c797572411b3d966104f887ce690f0e84f3942f46fa")
$oHTTP.Send()
Example with HTTP-Header:
$oHTTP = ObjCreate("winhttp.winhttprequest.5.1")

$oHTTP.Open("GET", "https://monitoring.example.org/command:PROCESS_SERVICE_CHECK_RESULT/hostUuid:" & $HostUUID & "/serviceUuid:" & $ServiceUUID & "/status_code:" & $status & "/plugin_output:" & $output & "/")
;SSL Options for self signed
$oHttp.Option(4) = 0x0100  + 0x0200 + 0x1000 + 0x2000

$oHTTP.SetRequestHeader("Content-Type", "application/json")
$oHTTP.SetRequestHeader("Authorization", "X-OITC-API 2023a6c93a93d1a9fa168e57b4dc0f4f70fc1591b4fea8ce097cbc50d8673150c1dc128947c720c9c4de5c0cd22070c7cd9d0122a77d4bc07e208c797572411b3d966104f887ce690f0e84f3942f46fa")

$oHTTP.Send()
Make sure, that the corresponding user has permission to submit external commands:
Removed Pagination
We removed pagination for most of the pages, to reduce loading times of openITCOCKPIT. On most pages you will not notice a difference, but page loading speed will be much faster in “scroll mode”.
You have still the options for next page, previous page and first page. Last page is not available in scroll mode.
If required, you can switch back to the old “Paginator Mode”.
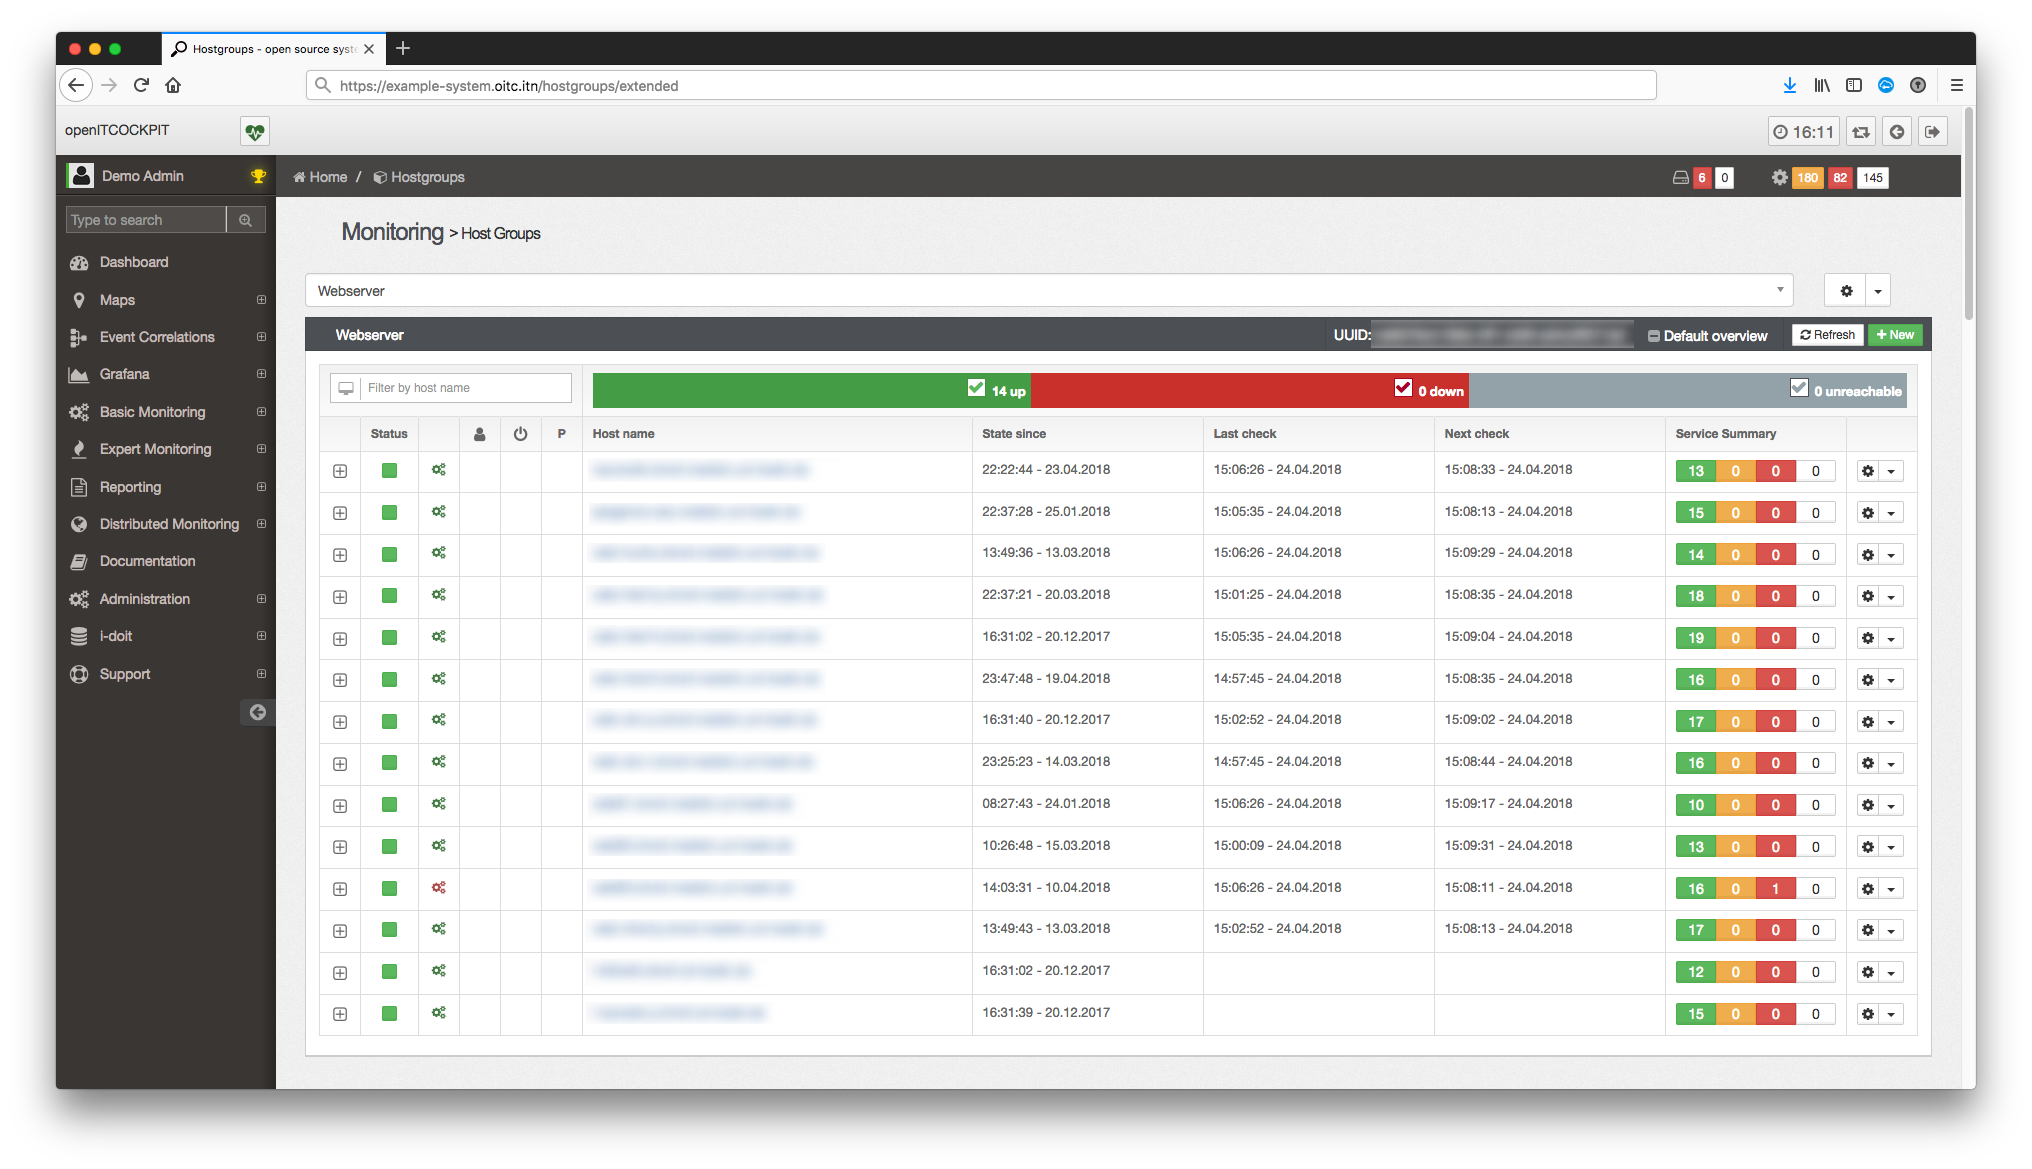
Refactored Host Groups Extended View
For a better usability and to improve performance, we refactored our Host Groups Extended View with AngularJS.
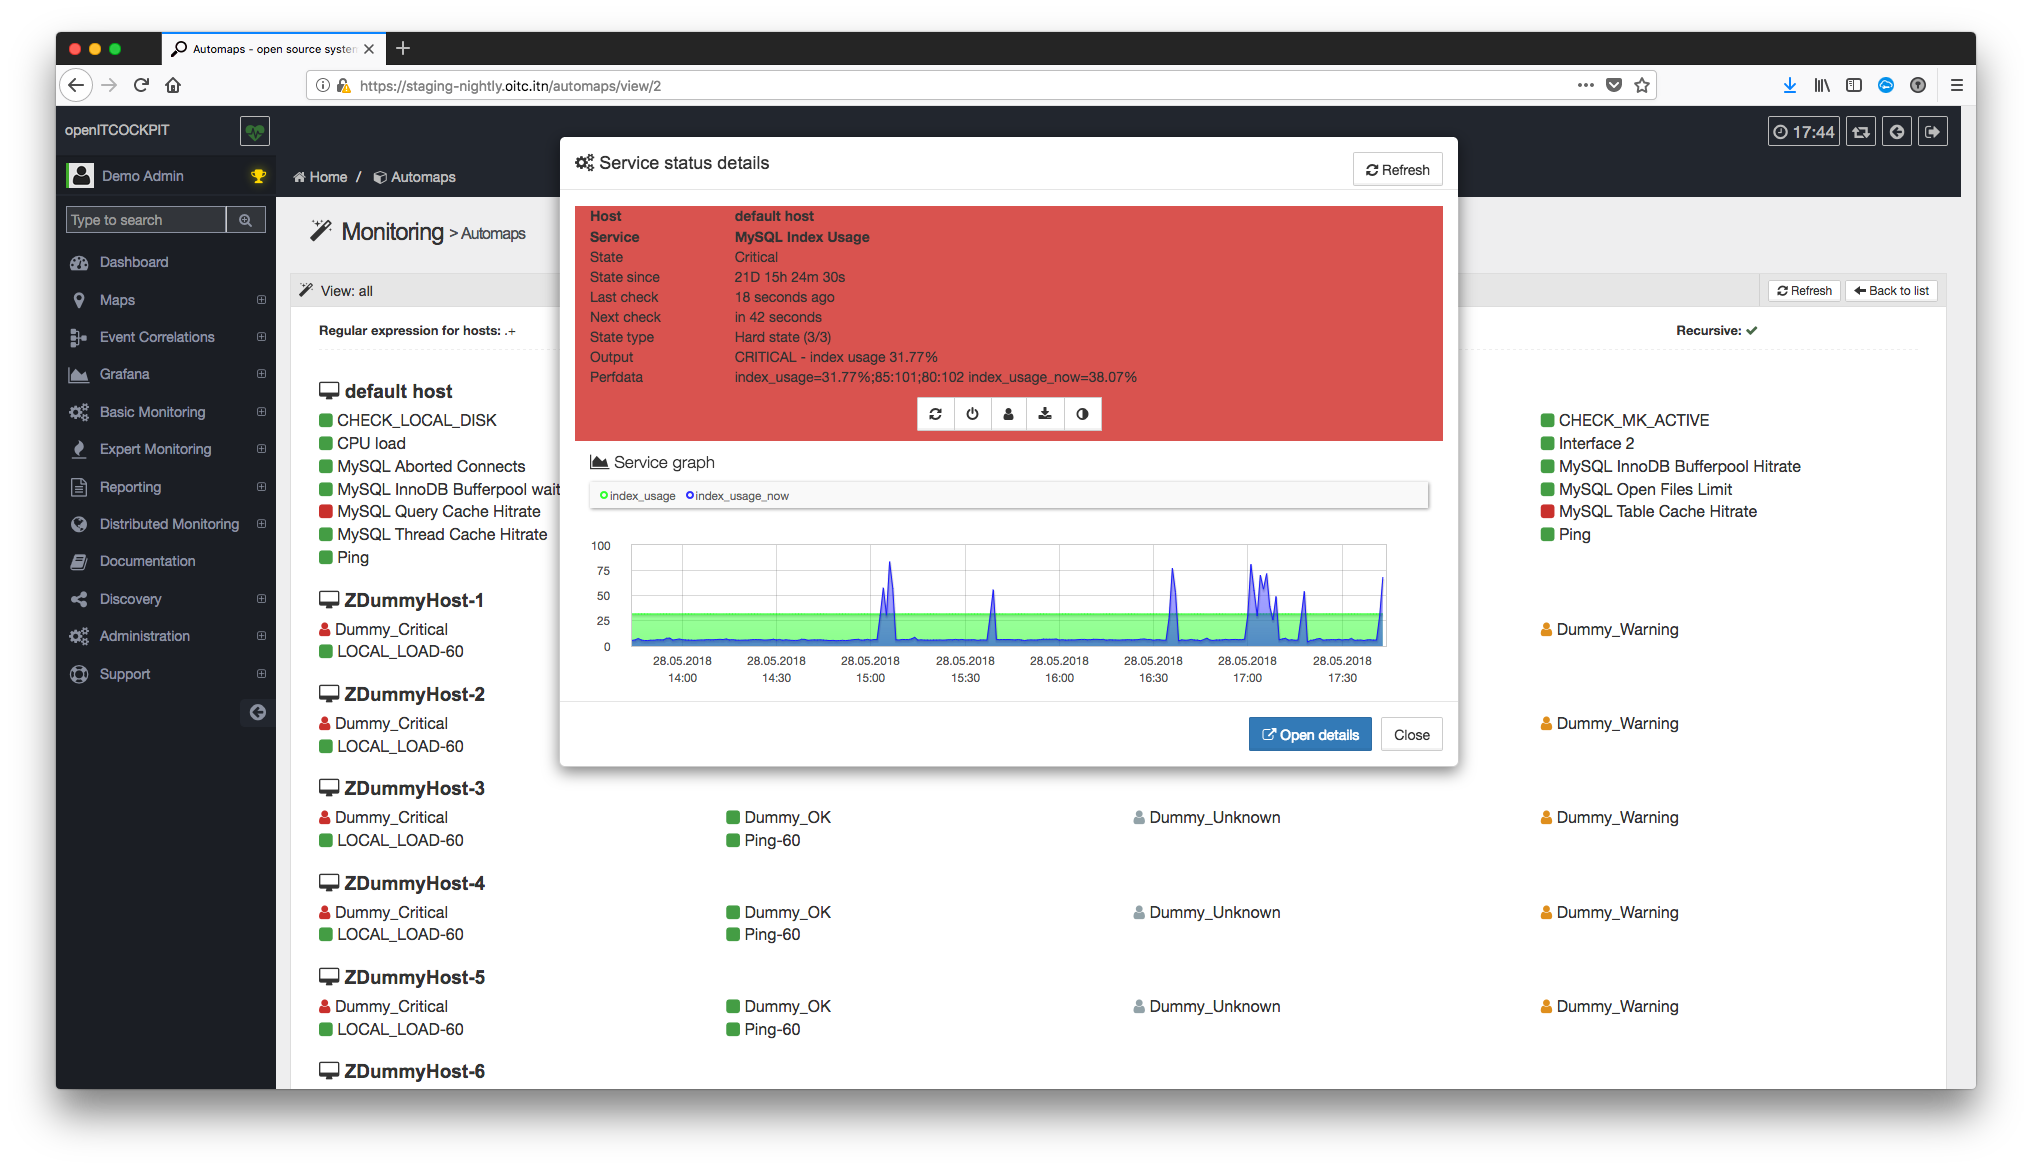
Refactored Auto Map
For a better usability and to improve performance, we refactored our Auto Maps with AngularJS.
Improvements to Checkmk
Precompiled files
We created a new folder, which openITCOCKPIT will use to execute Checkmk checks.
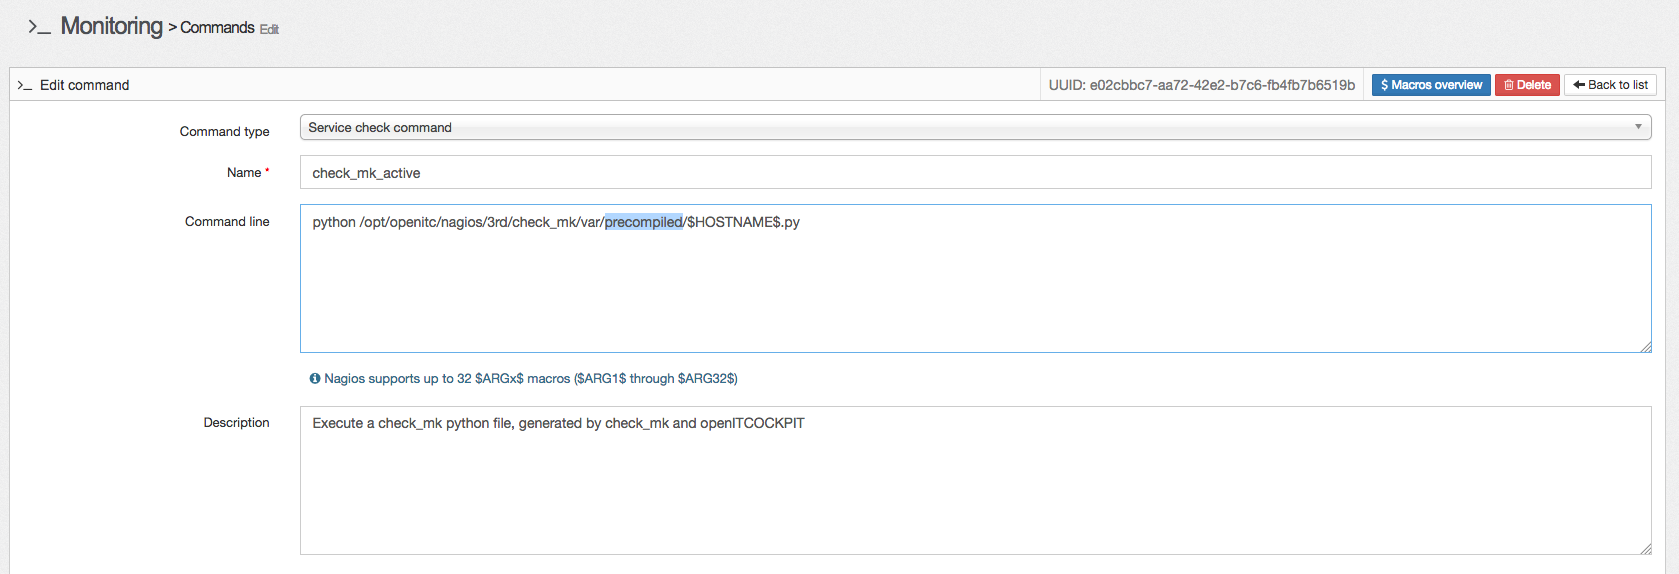
In older versions, openITCOCKPIT uses the Checkmk directory /opt/openitc/nagios/3rd/check_mk/var/precompiled to execute Checkmk checks. Since openITCOCKPIT 3.4.2, we use
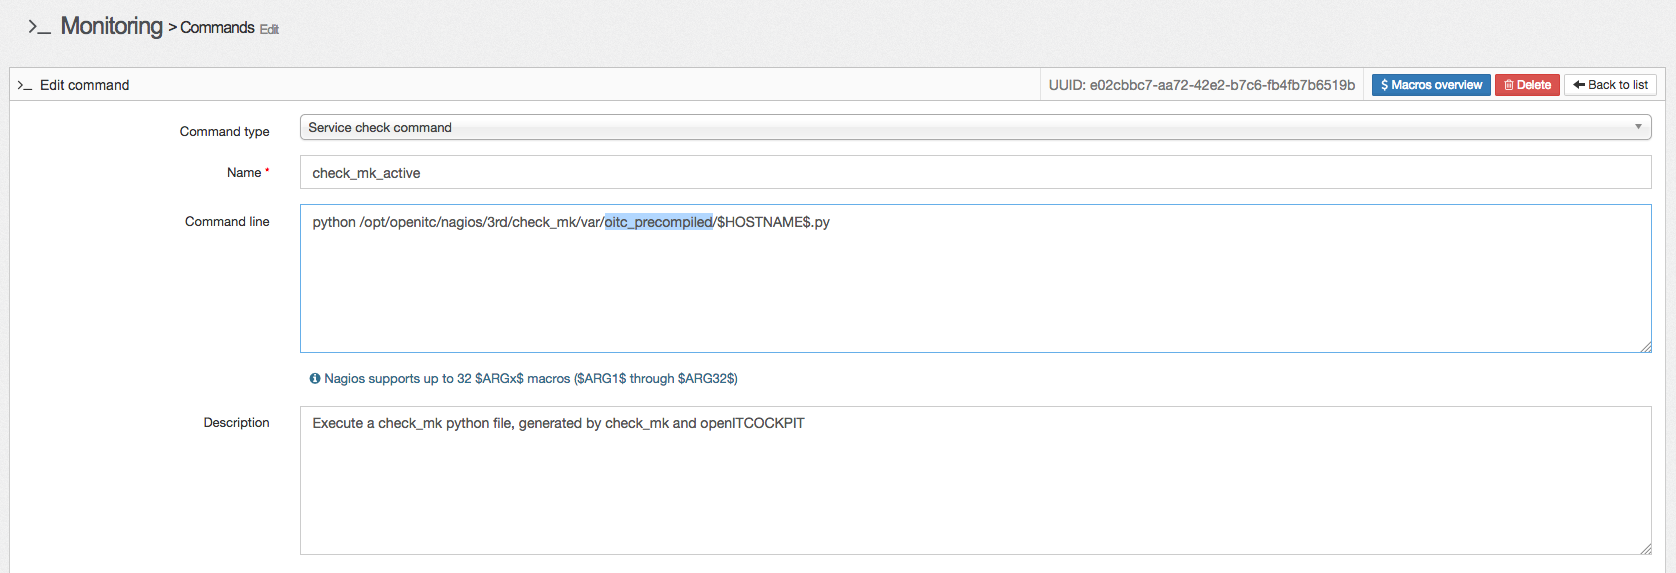
/opt/openitc/nagios/3rd/check_mk/var/oitc_precompiled. This will prevent false positive check results while the system is generating new Checkmk configuration files.
Info!
If you are updating your system, you need to adjust the check command check_mk_active manually!
You can still use Checkmk, even without adjusting your command. You will just not benefit from the new configuration generation process.
Change the path to /opt/openitc/nagios/3rd/check_mk/var/oitc_precompiled:
Better performance
We also improved the performance of generating all Checkmk files during an “Refresh of monitoring configuration” in combination with openITCOCKPIT Satellite Systems.
New Design “openITCOCKPIT Elegance”
New theme openITCOCKPIT Elegance was added to our DesignModule.
New version of phpNSTA (1.10.1)
If you are using distributed monitoring, you should also update all your Satellite Systems. We release a new version of phpNSTA and phpNSTAClient to resolve a timeout issue
with bulk messages.
New nagios.cfg
With this version of openITCOCKPIT, passive_host_checks_are_soft will be enabled by default in /etc/openitcockpit/nagios.cfg.
Add PHP 7.2 Support
We are currently packaging openITCOCKPIT for Ubuntu 18.04 LTS (Bionic Beaver). With the new Ubuntu Version, PHP 7.2 is the default PHP version. We already updated openITCOCKPIT, to be compatible with PHP 7.2.
New LDAP library
As a side effect, we implemented a new LDAP library, to handle large LDAP environments. To use the new LDAP library, PHP greater or equal 7.1 is required. If your system fulfills the requirements, your openITCOCKPIT will automatically switch to the new LDAP backend. Otherwise openITCOCKPIT will use the old library.
Statusengine 3 Support
openITCOCKPIT makes use of Statusengine since quite a while. We use Statusengine to store the results from the monitoring engine to a database and to process performance data.
To make openITCOCKPIT more flexible and scalable, we started to implement Statusengine 3.
MySQL
The new Statusengine 3 database schema will become our new default schema for monitoring records. With this version, we started to prepare our backend for the new version of Statusengine.
CrateDB
Unfortunately we are struggling around with some issues, which delay the intragration of CrateDB.
Disable login screen animation
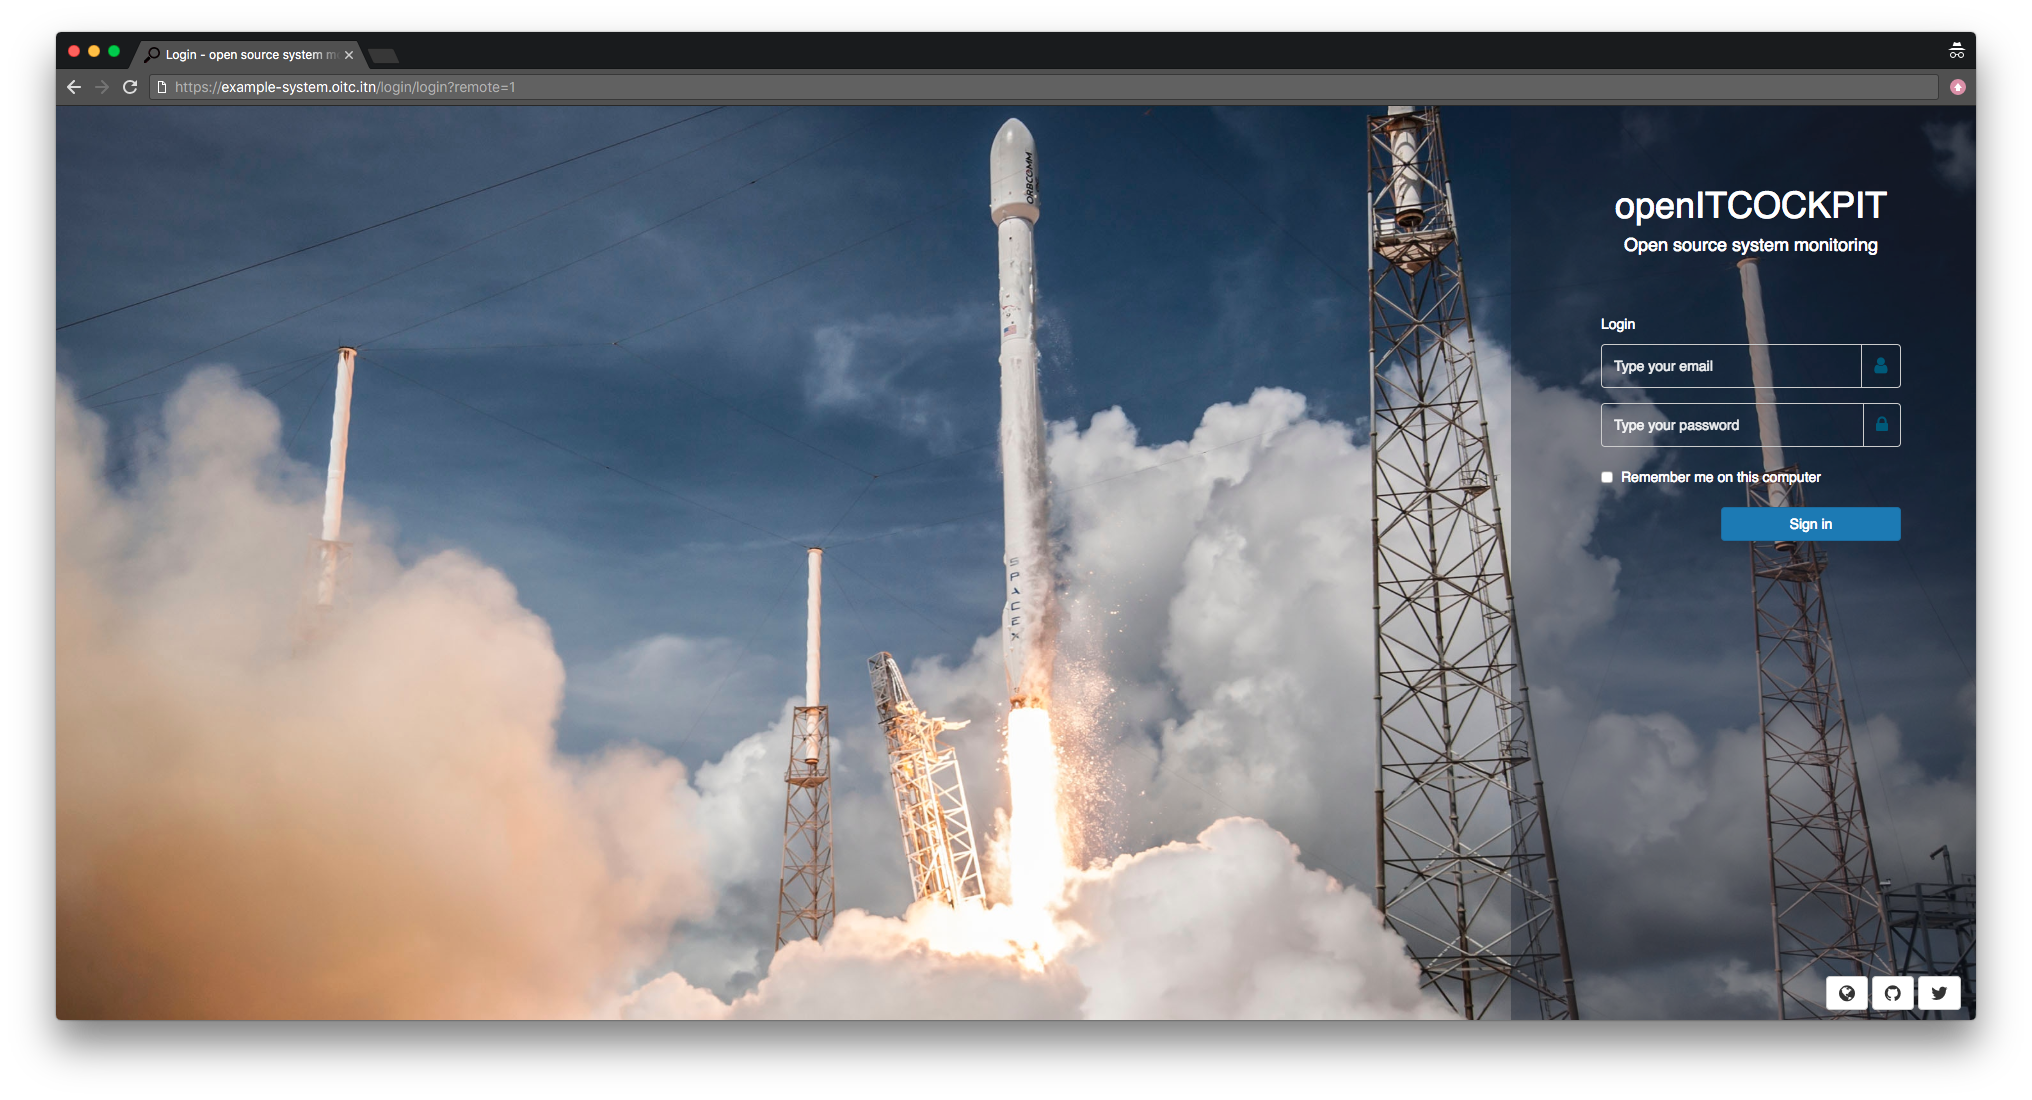
If you are working remotely with some remote desktop tools like VNC, we guess you are happy to read, that you can disable the animations on the login screen now.
Disable animation temporarily (just for you)
By adding ?remote=1 to the login url, you can disable the login animation temporarily. Full URL example: https://example-system.oitc.itn/login/login?remote=1
Disable animation permanently (all users)
If required, you can permanently disable the login animation in the Systemsettings of openITCOCKPIT.
How to Update
In one of our previous articles we described how to update an installation of openITCOCKPIT in detail. If you are already familiar with our update process, you can update to the new version in three easy steps:
tmux
sudo apt-get update
sudo apt-get dist-upgrade
